Mr Steves has a fondness for penguins, a love of chocolate and a dislike for fondant. Hence a chocolatey penguin birthday cake where fondant only makes an appearance to cover the cake board and make the penguins features.
One of my favourite cakes to make and I'm sure it had nothing to do with all the left over marshmallows and chocolate ;)
I used a ball tin to bake the igloo, then covered it with white chocolate buttercream and added marshmallows one by one (one for the cake... one for me... one for the cake... one for me...) to make the icy bricks.
The doorway was a bit of an after thought so sadly the penguins can't enter their tasty home.
The penguins themselves are cake pops and as my Owls have proved so popular, this time I decided to photograph how I make them....
 The first step is to bake and crumble a cake.
I use a recipe for 12 cupcakes to bake a small sheet cake and this usually makes around 18 cake pops.
To crumble, break the cake in to large pieces and rub them together.
When the cake is crumbled add buttercream icing one spoon at a time and use the back of the spoon to mix it in. It doesn't need a lot of icing, I find 1 1/2 - 2 spoonfuls usually does the trick.
When you have the right consistency the cake should stick together and mould easily.
Take a little bit of mixture at a time and roll it into a ball. I use a tablespoon to scoop out roughly equally measures. Then place the balls in to the freezer for roughly 10 minutes to harden.
 Remove the balls from the freezer and at this point you can stick with the ball shape, or remould them to your desired shape and place them back in to the freezer to harden again. For my penguins I remoulded them in to more of an oblong shape.
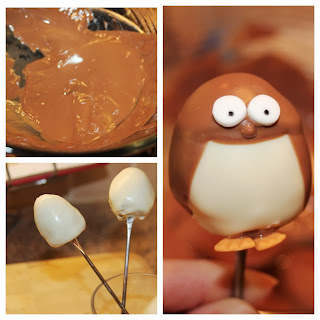
Next is the fun bit. Melt your chocolate and start dipping :)
At this point you would normally add a lolly pop stick but as I didn't need them I used fondue forks. To attach lolly pop sticks, dip the top of the stick in to the chocolate, then insert it gently in to the cake pop no more then half way. Do this for all your cake pops and by the time you come back to the first one it should have set.
Holding the lolly pop stick, dip the cake pop in to the melted chocolate until it is covered. Then lift it out and very gently tap to remove any excess chocolate. Don't be tempted to stir the cake pop in the chocolate as you may lose it from the stick. If your bowl is not deep enough to fully submerge the cake pop use a spoon to help cover it.
To create my penguins, I dipped them in white chocolate, then dipped the top and sides in milk chocolate once they had set.
 For regular cake pops, I would add sprinkles and decorations while the chocolate is still wet. For my penguins I prefer to let the chocolate set before adding their features, otherwise they slide out of position and my penguins end up with wonky eyes and beaks by their feet.
I made their features out of fondant. To add them after the chocolate was set I used a cocktail stick to place a tiny spot of chocolate where needed which acted as my glue.
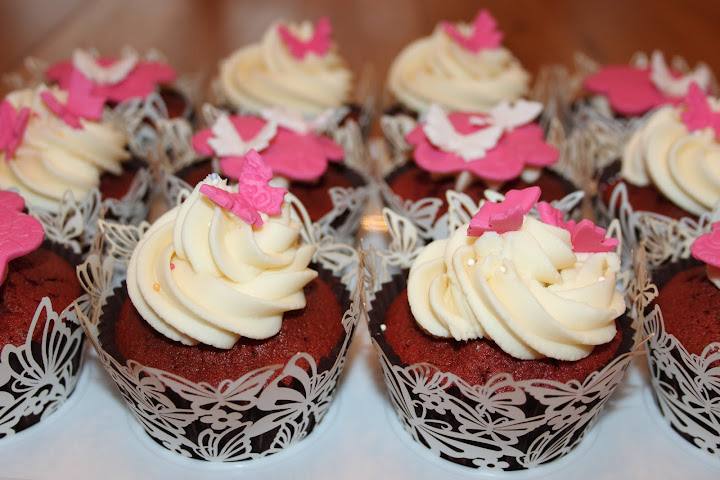
And that's it! I added butterfly decorations as bow ties, although Mr Chris questioned if penguins eat butterflies so perhaps they didn't have the desired effect.
Don't be put off by the number of steps involved. Cake pops are easy and fun to make if you have the time. I learnt this technique flicking between videos by DessertDecorating and Bakerella so check them out if you want to see it in action.


0 comments: